AsadMemon
Trying out Facebook’s Caffe2

I was amazed by Facebook’s Realtime Style Transfer camera. Which were first seen in the popular Prisma app but that wasn’t realtime and only worked on photos.
Keep in mind that the original Prisma app sends the photo to their servers which then apply the selected filters. But the Facebook’s camera did it in realtime, on-device!
They recently open-sourced Caffe2, a cross-platform framework behind some of their AI products. So I thought of trying it out. This is just my write-up on setting it up and trying the code samples.
Installation
I was setting it up on a Ubuntu instance, the official installation instructions mostly work fine. They are similar for macOS too. You can just follow those instructions till you have built and set up Caffe2. Some tips:
- Install dependancies.
- Install these required python packages:
sudo pip install numpy protobuf matplotlib future scikit-image - Skip CUDA setup instructions if you don’t have a CUDA GPU.
- Clone Caffe2 repo and build.
Environment Variables
Once you have built Caffe2. You need to set up environment variables:
export PYTHONPATH=/usr/local:$PYTHONPATHexport PYTHONPATH=$PYTHONPATH:$PWD
export LD\_LIBRARY\_PATH=/usr/local/lib:$LD\_LIBRARY\_PATH
Save them permanently, as these will reset if you reboot or re-login.
By appending the export commands in your .bashrc file. Here’s how:
echo 'export PYTHONPATH=/usr/local:$PYTHONPATH' >> ~/.bashrc
echo 'PYTHONPATH=$PYTHONPATH:$PWD' >> ~/.bashrc
echo 'export LD\_LIBRARY\_PATH=/usr/local/lib:$LD\_LIBRARY\_PATH' >> ~/.bashrc
Jupyter Notebook
As of right now, Caffe2 only supports Python 2.7.x and not 3. But the latest IPython 6.0 has dropped support for Python 2.x. So I had to install an earlier version. Here’s how you can do that:
sudo pip install ipython==5.0
sudo pip install jupyter
Let’s go to our home directory and start Jupyter Notebook on port 8889:
cd ~/
jupyter notebook --port=8889
If you are running jupyter on your cloud instance (AWS, Azure, etc):
You will have to forward that port to your local machine by creating a tunnel. Here’s how:
Open a new terminal on your local machine and run the following command:
ssh -fNL 8889:localhost:8889 <_SERVER-USERNAME_\>@<_SERVER-IP_\>
Replace those placeholders with your own server details.
Trying Samples
- When you run Jupyter, it will print a URL, something like:
http://localhost:8889/?token=e1d8c38df25456637d3c4cfd6
- Copy the link and open in your browser. You will get a folder view.
- Head over to the folder: caffe2/python/tutorials.
- Open the Basics.ipynb and try running the code (Shift+Enter to run the cell). If you don’t get any errors, you have configured Caffe2 and Jupyter!
- If not, look for import errors, you might need to pip install some package.
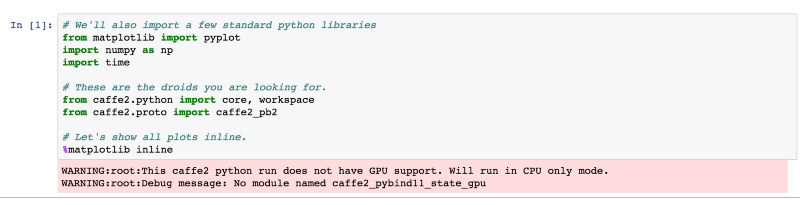
- You can ignore the GPU warnings if you didn’t set up CUDA:
Pro Tip: You can open a terminal to your server right from Jupyter Web UI. In the folder view, click New >Terminal.
Advanced Sample
- Open Loading_Pretrained_Models.ipynb and follow instructions. At the beginning it asks you to download the model.
- You will need to fix the permissions of the download folder first:
sudo chmod 777 /usr/local/caffe2/python/models/
- Now you can download the model, like:
python -m caffe2.python.models.download -i squeezenet
- Return to the notebook and continue with instructions.
iOS and Android Samples
Caffe2 is great because it can run on iOS and Android natively.
You can try the iOS example with a pre-trained model or adding your own. This sample is pretty straightforward and works: https://github.com/KleinYuan/Caffe2-iOS
If you are too lazy to build and install, it’s available on iOS App Store too:
https://itunes.apple.com/ca/app/deep-learning-pro/id1239155582
For Android, this sample should work:
https://github.com/bwasti/AICamera
I didn’t try this one as Android Studio is a mess to set up.